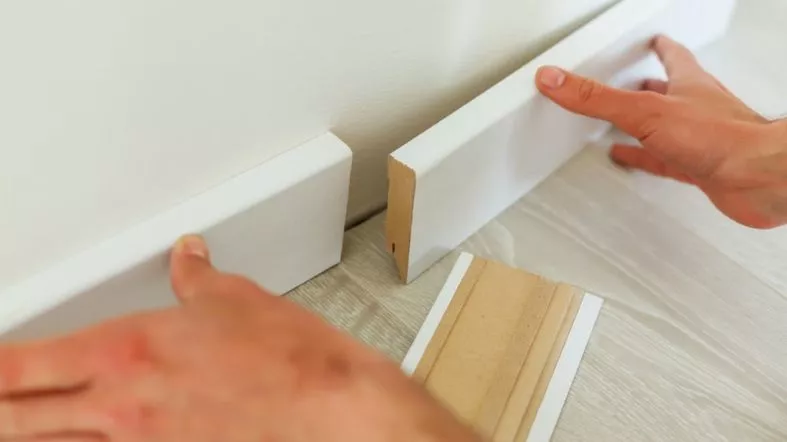
Baseboards are decorative elements that cover the joint between your wall and floor. So, choosing the right nail size for baseboards is crucial for a secure and neat finish.
If you are wondering what size nails for baseboards, don’t fret. In this comprehensive guide, you’ll discover the ideal nail sizes, types, and techniques to ensure your baseboards look professional and stay put.
What Size Nails Should You Use for Baseboards?
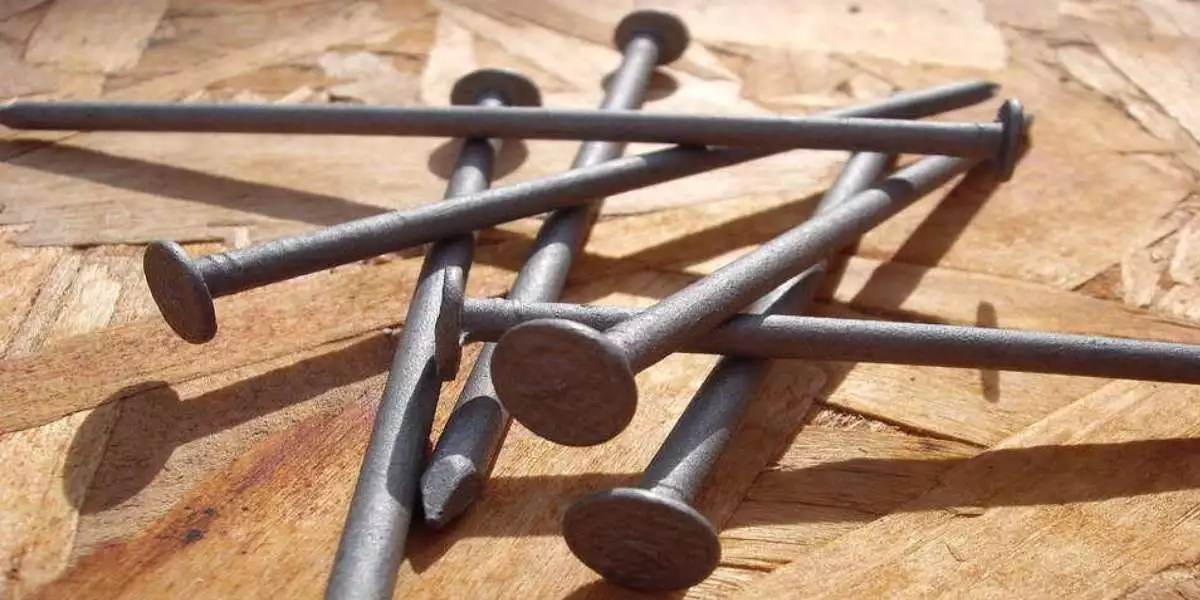
For securing baseboards, 1.5 to 2-inch finish nails are commonly used. These nails are long enough to go through the baseboard and into the wall stud, ensuring a secure fit. Choose a gauge size between 15 and 16 for the best results.
Here is a table chart comparing nail sizes and their ideal uses for different types of baseboards:
| Nail Size | Length (inches) | Ideal Uses |
|---|---|---|
| 4d | 1 1/2 | Thin baseboards |
| 6d | 2 | Standard baseboards |
| 8d | 2 1/2 | Thicker baseboards |
| 10d | 3 | Very thick baseboards |
Types of Nails for Different Baseboards
Finish Nails for Baseboards
Finish nails are a popular choice for baseboards. They’re small, which means they can easily blend into the wood, making them almost invisible once they’re hammered in.
This is great if you want a smooth, clean look for your baseboards. For example, if you’re installing a light, thin baseboard made of pine, finish nails would be a good choice.
Brad Nails for Delicate Baseboards
Brad nails are even smaller than finish nails. They’re perfect for delicate trim work where the wood might split with larger nails.
So, if you’re working with a very thin or delicate baseboard, brad nails would be your best bet. For instance, if you have a baseboard made of softwood like cedar, brad nails can help prevent the wood from splitting.
Casing Nails for Thicker Baseboards
Casing nails are larger and provide a stronghold, which makes them ideal for thicker baseboards.
They’re designed to hold up heavy loads, so if your baseboard is made of a dense hardwood like oak or maple, casing nails would be a good option.
They can securely fasten the baseboard to the wall without bending or breaking.
Masonry Nails for Concrete or Brick Walls
Masonry nails are a special type of nail used for attaching baseboards to concrete or brick walls. They’re made of hardened steel, which allows them to penetrate these hard materials without bending or breaking.
If your home has concrete or brick walls, you’ll likely need masonry nails to install your baseboards.
For example, if you’re installing a baseboard in a basement with concrete walls, masonry nails would be necessary to ensure a secure hold.
Factors Influencing Nail Size Selection for Baseboards
The Role of Baseboard Thickness
The thickness of your baseboard plays a big role in the nail size you choose. Thicker baseboards need longer nails to ensure they’re securely attached to the wall.
For example, a thick oak baseboard might need a 2-inch nail, while a thin pine baseboard could be fine with a 1.5-inch nail.
Consideration of Wall Material
The material of your wall also affects your nail choice. Different wall materials require specific types of nails.
For instance, if you’re attaching a baseboard to a concrete wall, you’ll need masonry nails, which are designed to penetrate hard materials without bending or breaking.
Importance of Baseboard Material
The material of your baseboard is another important factor. Softer woods might need shorter nails to avoid splitting the wood, while harder woods can handle longer nails.
For example, a soft cedar baseboard might require a 1.5-inch brad nail, while a hard maple baseboard could take a 2-inch finish nail.
Aesthetic Preferences in Nail Selection
Your aesthetic preferences matter too. Some people prefer smaller nails because they’re less noticeable on the finished baseboard.
So if you want a clean, smooth look with no visible nails, you might opt for smaller finish or brad nails.
Weight of the Baseboard
The weight of your baseboard also influences your nail size selection. Heavier baseboards need longer, stronger nails to hold them in place securely.
So if you have a heavy, solid wood baseboard, you might need to use larger casing nails.
Adherence to Local Building Codes
Lastly, always check your local building codes before starting your project. These codes may have specific requirements or restrictions for nailing baseboards that you need to follow.
For example, some codes might specify a minimum or maximum nail size or require certain spacing between nails.
Common Mistakes in Nailing Baseboards and How to Avoid Them
Using Inappropriate Nails
One common mistake is using the wrong type or size of nail for your specific baseboard and wall material.
For example, using a small brad nail for a thick, heavy oak baseboard won’t provide a secure hold. Always make sure to choose the right nail for your project.
Ignoring Nail Spacing Guidelines
Another mistake is ignoring spacing guidelines. Nails should be spaced evenly along the baseboard for a neat appearance and secure hold.
For instance, if you place all your nails at one end of the baseboard, it might warp or come loose over time.
Neglecting Local Building Codes
Failing to check local building codes is another common error. These codes can have specific requirements or restrictions on nailing baseboards.
For example, some codes might require a certain type of nail or specific spacing between nails. Always check these before starting your project.
Inadequate Surface Preparation
Finally, not preparing the surface properly can lead to problems. The wall surface should be clean and smooth before attaching your baseboard. This helps achieve a neat finish and secure hold.
For instance, if you try to attach a baseboard to a wall with old adhesive or nails still in place, it won’t sit flush against the wall and may come loose over time.
Step-by-Step Guide to Nailing Your Baseboards
Choose the Right Type of Nail
The first thing to do is pick the right type of nail. You’ll usually want to use finish nails for baseboards because they’re strong and have a small head, making them less noticeable.
Imagine using a crayon for a fine-art drawing—it just wouldn’t work well, right? That’s why choosing the right nail is super important.
For most baseboards, a 2-inch long finish nail works great. They’re strong enough to hold the wood but small enough to be discreet.
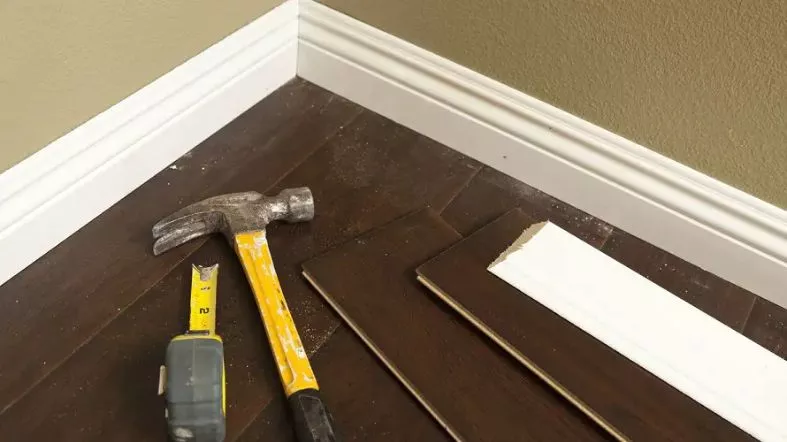
Gather Your Tools
Before you start, make sure you have all your tools ready. You’ll need a hammer, a tape measure, and a pencil. Think of these as your artist’s brushes; each has a special role in making your project perfect.
If you use a hammer, make sure it’s comfortable to hold. If your hand hurts, you won’t be able to nail the baseboards properly.
Measure and Mark
You can’t just randomly place nails; you have to measure and mark where they should go. Use a tape measure and a pencil to mark the spots.
Imagine you’re playing connect-the-dots; the marks guide where the nails should go.
Measure about 16 inches apart for each nail along the baseboard. This ensures that the nails go into the wall studs, making the baseboard super secure.
Hold the Nail Properly
Holding the nail correctly is crucial. Hold it near the pointed end, between your thumb and index finger. Think of holding a nail like holding a straw—you don’t want to squeeze too tight or too loose.
Holding the nail too tight can make it bend when you hammer, making a crooked nail that won’t do its job well.
Hammer Carefully
When it’s time to hammer, make sure you hit the nail straight.
Try to hit the top of the nail in one straight line, avoiding any angle. This makes sure the nail goes straight into the wood and holds the baseboard firmly.
Check Your Work
Once you’ve nailed a section of the baseboard, it’s good to take a step back and check your work. Are the nails straight? Is the baseboard flush against the wall? Think of this step as reviewing your answers before turning in a test.
If you see a nail that’s sticking out or slanting, remove it carefully and try nailing it in again.
FAQs
Can I use masonry nails for wooden walls?
No, masonry nails are designed specifically for concrete or brick walls, not for wooden walls.
Is a 1-inch nail sufficient for baseboards?
No, 1-inch nails are generally too short for securing baseboards effectively; opt for 1.5 to 2-inch nails.
Are brad nails suitable for heavy baseboards?
No, brad nails are best for delicate or thin baseboards and may not provide a secure hold for heavier options.
Do casing nails work well for all types of baseboards?
Casing nails are best suited for thicker, heavier baseboards made of dense hardwoods like oak or maple.
Does nail gauge affect the strength of the baseboard installation?
Yes, the gauge of the nail affects the strength; choose between 15 and 16 gauge for most baseboard installations.
Conclusion
Choosing the right nail size for your baseboard is crucial for a secure hold and neat finish.
Always consider factors like the thickness of your baseboard, wall material, aesthetic preferences, weight of the baseboard, and local building codes when selecting your nail size.
