Using the right sized trowel is imperative for proper wall tile installation. An incorrectly sized trowel can lead to weak adhesion, hollow spots, and tile failure down the road.
In this article, we’ll explore how tile size, type, and texture determine trowel size needs. We’ll provide trowel size recommendations based on specific wall tile applications. You’ll learn how to achieve full mortar contact without overloading the tile.
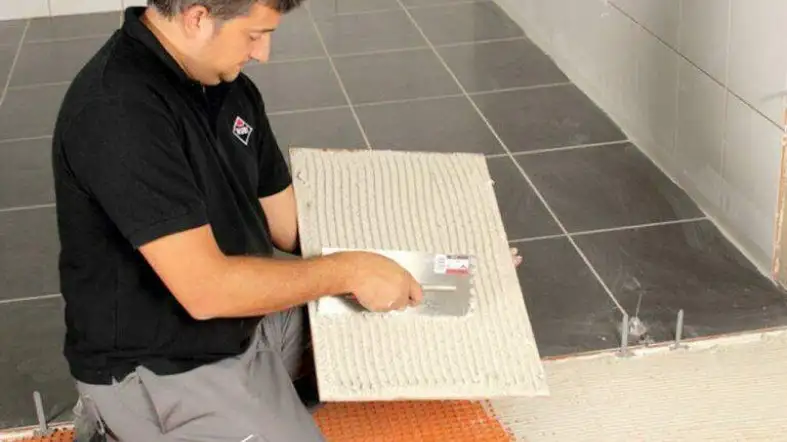
What Size Trowel For Wall Tiles?
For wall tiles 12 inches or smaller, use a 1/4″ x 3/8″ square-notched trowel. For larger tiles from 12 to 18 inches, step up to a 1/2″ x 1/2″ square or U-notched trowel. Match the trowel notch size to the tile thickness for proper coverage.
Trowel Size Chart for Wall Tiles:
| Troll Size | Notch Type | Wall Tiles Size |
|---|---|---|
| 3/16″ to 1/4″ | V-notch | Mosaics tiles up to 4-1/2″ glazed wall tile |
| 1/4″ x 1/4″ | U- Notch | 4″ to 8″ tile |
| 1/4″ x 3/8″ | U or Square notch | 8″ to 16″ tiles |
| 1/2″ x 1/2″ U or Square notch | Square notch | 16″ and larger |
Follow the above table for tile size and adhesive coverage to find the perfect size trowel for your wall tiles.
>> What trowel size for 4×4 tile?
How Are Trowel Sizes Measured?
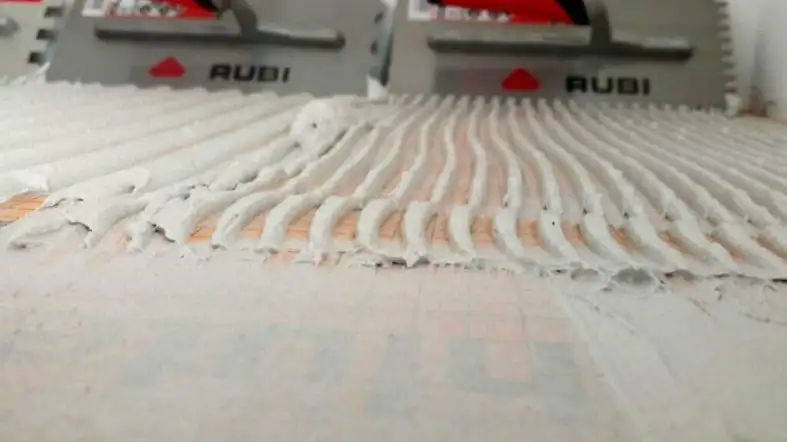
For tile, the size and spacing of the trowel teeth are used to determine trowel size. When you spread out the trowel, this tells you how much thin-set will be left on the substrate.
The shape and spacing of the teeth on a trowel determine how much mortar is held between the tile and the surface below it.
There are two types of trowel you can use for wall tiles square-notched and U-notched trowel. The width of the notches, or the distance between the teeth, is measured first.
The second number, known as the depth of the notch is how far down into the plywood it extends.
>> What trowel size for installing subway tile
Square Notched Trowel
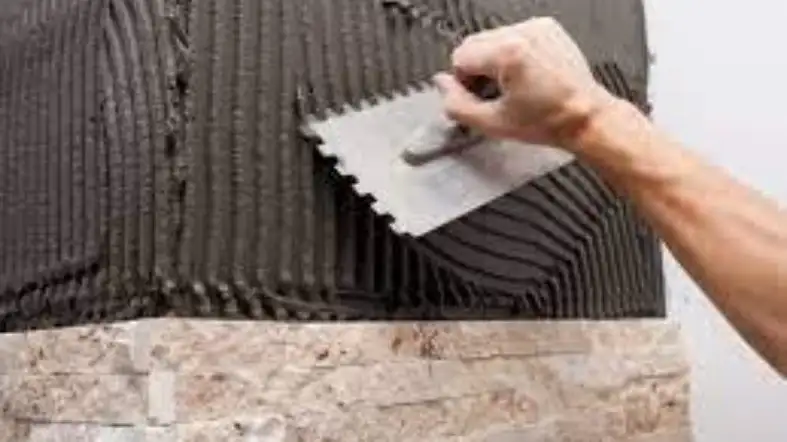
The square-notched trowel is the most common type of trowel. It’s easy to use and provides good coverage.
The width of the ridge, when using a 1/2” x 1/2” square-notched trowel, should be 1/2”. This will produce 1/2” ridges of thin set on the substrate with 1/2” gaps between each ridge.
When only one measurement (i.e., as a 1/2″ trowel) is used, both measurements are equal.
On the other hand, when you use a 1/4” x 3/8” square-notched trowel, you’ll get 1/4” ridges of a thin set with 3/8” high ridges of thin set on the substrate, with ¼” spaces between each ridge.
The first number, as always, is the size of the teeth; and the second number is the depth of the notch.
U-Notched Trowel
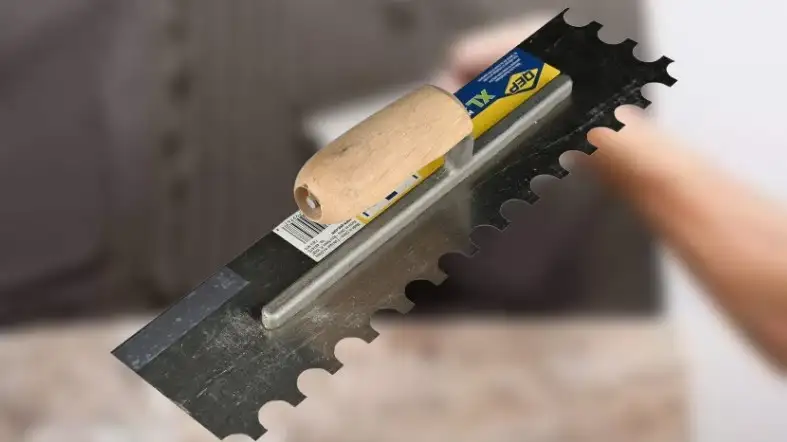
The U-notched trowel is less common than the square-notched trowel but it can be used for wall tiles. It’s easy to use and provides good coverage.
This is the depth and breadth of the teeth. I’m using a 3/8″ U-notched trowel, which has a half-moon notch.
Half-round ridges will appear on the substrate when using a U-notched trowel to spread a thin set.
These furrows will be 3/8” high and separated by double that distance – 3/4″. The main difference between the two types of trowels is the shape of the teeth.
The square-notched trowel has square teeth and the U-notched trowel has semi-circular teeth.
They both will give you good coverage, but the U-notched trowel will leave behind Half-round furrows of thin set.
How To Pick The Right Trowel To Install Your Wall Tile Project?
Now that you know the different types of trowels and how they’re measured, it’s time to choose the right trowel for your wall tile project.
Below are some tips to help you make the best decision.
Determine The Size Of Your Tiles
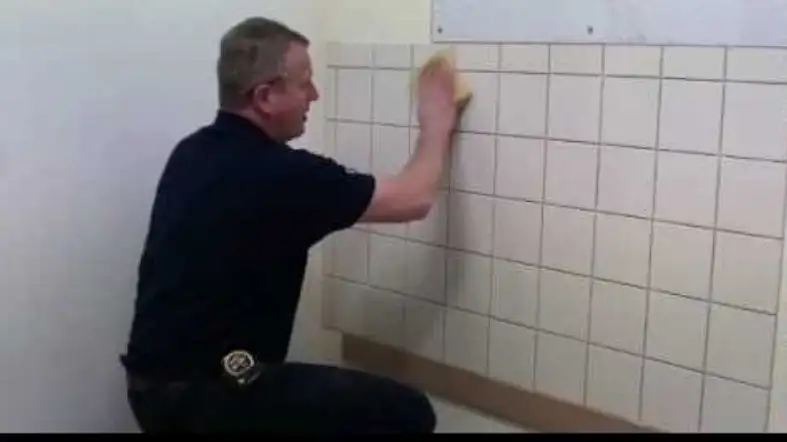
The width of the tile will help you determine the size of the trowel you need to use. The larger the tile, the larger the trowel you will need.
For example, if you’re using 4”x4” tiles, you can use a ¼” square-notched trowel or a 3/8” U-notched trowel.
If you’re using 6”x6” tiles, you will need to use a 3/8” square-notched trowel or larger.
Choose The Right Type Of Trowel
The type of trowel you use will be determined by the adhesive you’re using and the size of the tile.
For example, if you’re using a water-based adhesive, you will need to use a square-notched trowel.
When you’re using a powder-based adhesive, you can use either a square-notched or U-notched trowel.
If you’re using large tiles (12”x12” or larger), you will need to use a U-notched trowel.
Calculating Warpage
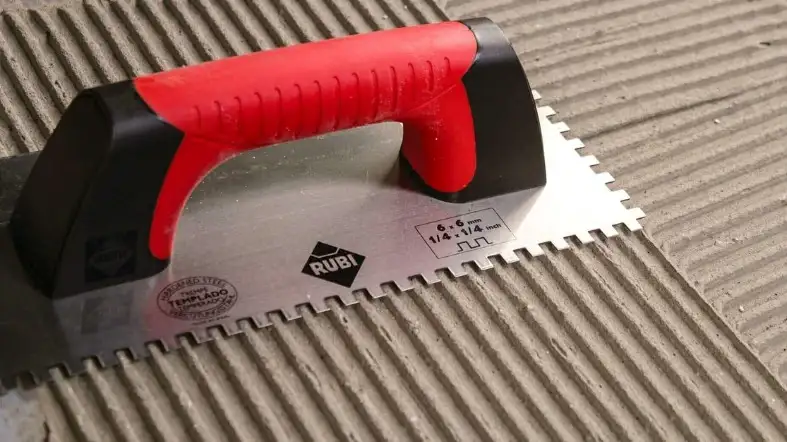
Warpage can occur when the tile is applied to a surface that isn’t perfectly flat.
Warpage can cause the tile to crack or break. To prevent warpage, you need to calculate the amount of deflection that your substrate can handle.
To calculate deflection, you need to know the span (distance between supports), the size of the tile, the type of adhesive, and the thickness of the mortar bed.
Once you have all of this information, you can use a Deflection Calculator to determine the amount of deflection your substrate can handle.
Visual Inspection
Once you’ve chosen the right trowel for your project, it’s time to do a visual inspection of the tile.
Make sure that the tile is evenly spaced and that there are no gaps between the tiles.
If you see any gaps, you will need to back butter the tile. Back buttering is the process of spreading adhesive on the back of the tile.
This will help to fill in any gaps and prevent the tile from shifting.
Now that you know how to pick the right trowel for your wall tile project, you’re one step closer to a successful installation.
Just remember to take your time and do a thorough job.
What’s The Proper Amount Of Mortar To Have Underneath My Wall Tile?
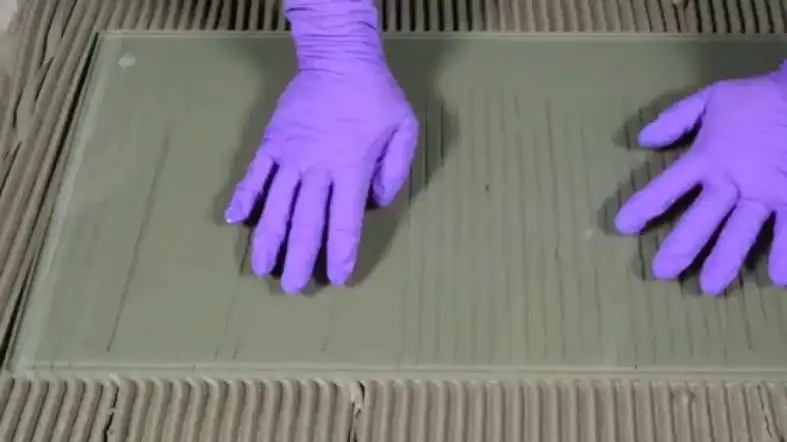
The proper amount of mortar underneath a tile will allow the tile to adhere to the surface and provide support.
Below we will discuss more in-depth the proper amount of mortar to have underneath a wall tile.
According to the American National Standard Specifications for the Installation of Ceramic Tile (ANSI), here are some guidelines:
- In more rugged areas, ten-yard segments must be draped with at least 80% coverage.
- There is a minimum of 95% coverage required for wet areas (such as inside a shower).
- A minimum of 95% coverage is required for natural stone tiles.
Thin Set Selection
It is important as well, you will want to make sure that the thin set is rated for the specific application.
For example, if you are using a powder-based thin set, it should be used with water-based adhesives.
If you are using a latex-modified thin set, it should be used with latex-modified adhesives.
Not all thin sets are created equal, so be sure to check the manufacturer’s recommendations before making your final selection.
Thin Set Consistency
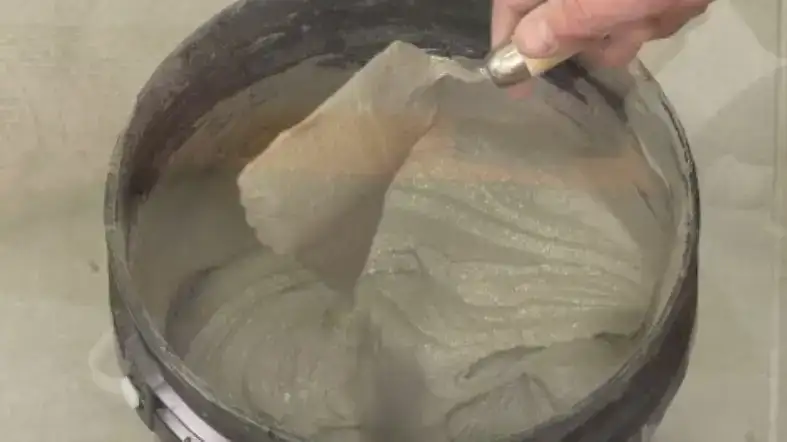
The thin set should be the consistency of peanut butter. If it’s too thick, it won’t spread evenly and can cause the tile to crack.
If it’s too thin, it can slump and slide off the wall.
In fact, most tile installers use a 3/8” notched trowel to achieve the proper consistency.
When in doubt, it’s always better to err on the side of caution and go with a thicker thin set. You can always thin it out with water if needed.
So, there you have it! These are just a few things to keep in mind when choosing the right trowel for your wall tile project.
With a little bit of planning and careful execution, you can achieve professional results that will last for years to come.
Tips For Getting The Perfect Tile Finish
Use the Right Size Trowel
Choosing the right size trowel will ensure that you have adequate coverage and the right amount of adhesive for your wall tiles.
Apply Even Pressure
When spreading the adhesive, be sure to apply even pressure. This will help to prevent the tile from shifting and cracking.
Use a Level
Make sure to use a level when installing the tile. This will help to ensure that the tile is installed evenly and correctly.
Be Careful with Grout Lines
When grouting the tile, be sure to avoid getting the grout lines too close together. This can cause the grout to crack and crumble.
Use a Sealer
After the tile is installed, it’s important to use a sealer. This will help to protect the tile and keep it looking new for years to come.
These are just a few tips to keep in mind when installing wall tile. If you follow the above advice, you should be able to achieve professional results.
FAQs
What Size Notched Trowel For 12×12 Ceramic Wall Tile?
For a 12×12 ceramic wall tile, you will want to use a ¼ inch x ⅜ inch square notch trowel.
This will give you the proper coverage and consistency for your thin-set.
What Size Trowel For Mosaic Wall Tile?
For a mosaic wall tile, you will want to use a 1/8” square notch trowel.
This will give you the proper coverage and consistency for your thin-set.
Can I Put Tile Over The Drywall?
Yes, you can install tile directly over drywall. You can install a ceramic tile kitchen backsplash directly over drywall or plaster if your wall is smooth and flat.
Final Thoughts
Installing wall tiles is not as difficult as it may seem. You can achieve professional results with a little bit of planning and the proper tools.
Be sure to use the right size trowel for your project and take your time when spreading the adhesive.
We hope these tips have helped and that you enjoy your new tile backsplash.
