Knowing what size nails for 3/4″ hardwood flooring is more crucial than you might think.
It’s not just about keeping the floorboards in place, but also about ensuring the longevity and durability of your flooring. Using the wrong size can lead to a host of problems, from squeaky boards to serious structural damage.
In this blog, we’ll guide you through the process of selecting the perfect nail size for your hardwood flooring project, helping you avoid common pitfalls and ensure a smooth, successful installation.

What Size Nails for 3/4 Hardwood Flooring?
For 3/4-inch hardwood flooring, the ideal nail size is a 2-inch long cleat nail or staple. The 2-inch length ensures that the nail penetrates through the hardwood and securely anchors it to the subfloor. Material such as steel or galvanized steel may be recommended for added durability.
3/4 Hardwood Flooring Nail Size Chart:
| Nail Type | Material | Size | Best Use |
|---|---|---|---|
| Cleat Nail | Steel | 2″ | Securing hardwood to subfloor |
| Staple | Galvanized Steel | 2″ | Quick installation |
| Finishing Nail | Steel | 1.5″ | For trim or edge detailing |
| Screw | Stainless Steel | 2″ | For areas requiring extra hold |
Understanding Nails for Hardwood Flooring
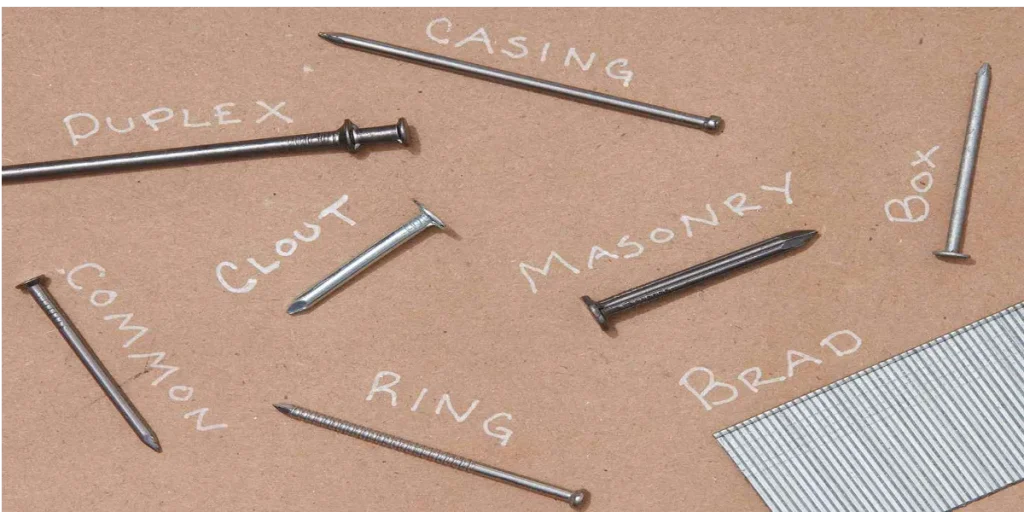
When it comes to installing hardwood flooring, the type of nail you choose can make a big difference. Here are some of the most common types:
Cleat Nails
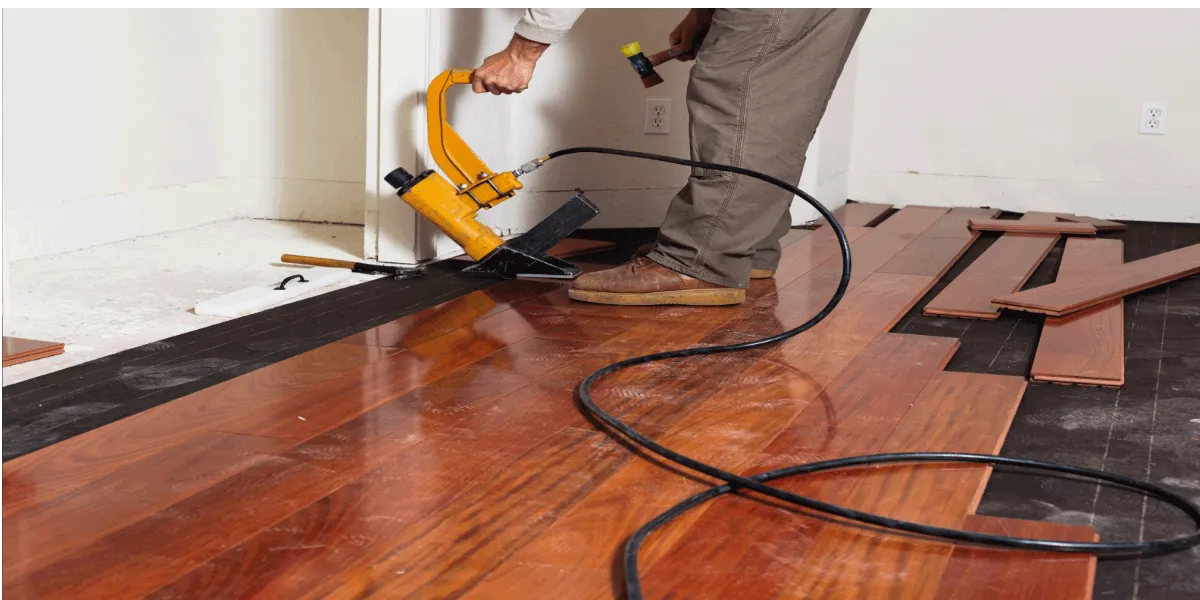
Cleat nails are a popular choice for hardwood flooring. They have a unique “L” shape, which helps them grip the wood securely. This means your floorboards will stay firmly in place, even under heavy foot traffic.
Cleat nails come in different sizes, so you can choose the one that’s best for your particular flooring.
Staples
While they’re not technically nails, staples are often used for hardwood flooring. Each staple has two prongs, which provide extra stability.
This can be especially useful if your floorboards are a bit uneven or if you’re working with a particularly hard type of wood. Just like cleat nails, staples come in various sizes.
Power Cleats
Power cleats are similar to regular cleat nails, but they’re designed to be used with a power nailer. This can make the installation process much faster and easier.
If you’re planning to install a lot of flooring, power cleats could be a great option. They provide the same secure grip as regular cleat nails, but without the need for as much manual labor.
Factors to Consider When Choosing Nail Size

Choosing the right nail size for your hardwood flooring is crucial. Here are some factors you need to consider:
Hardwood Type
Different types of wood have different hardness levels. For example, oak is harder than pine. The harder the wood, the longer the nail you’ll need to secure it properly.
Subfloor Material
The material of your subfloor can also affect the nail size. Concrete subfloors might require longer nails than wooden subfloor.
This is because concrete is denser and harder than wood, so you’ll need a longer nail to penetrate it.
Floor Thickness
The thickness of your floor is another important factor. Thicker floors generally require longer nails. This ensures that the nail can go through the floor and into the subfloor, providing a secure fit.
Nailers and Nail Guns
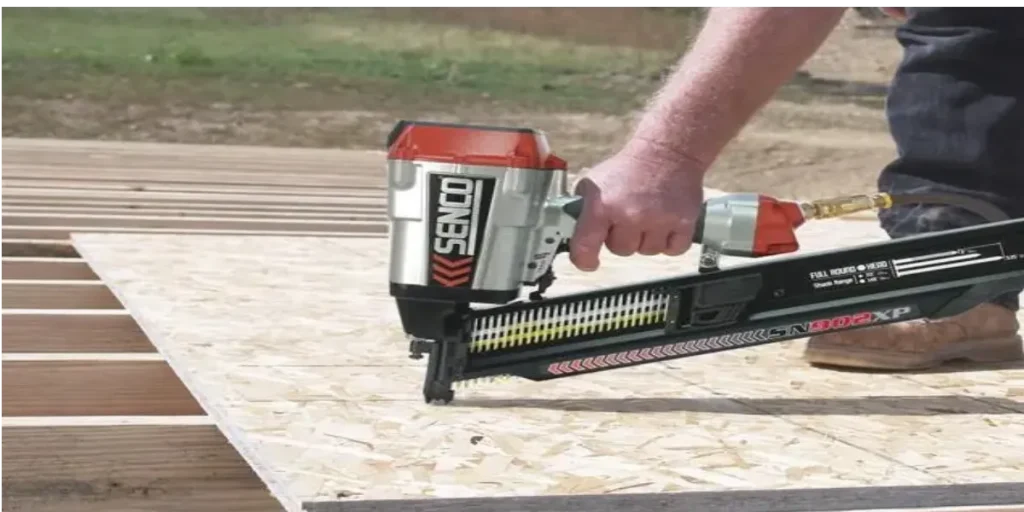
The type of nailer or nail gun you’re using can also affect the size of the nail you need.
Some nailers are designed to work with certain sizes of nails. Make sure to check the specifications of your tool before choosing your nails.
Moisture Levels
If your wood or subfloor is particularly moist, you might need to use longer nails. Moisture can cause wood to expand and contract, which could loosen the nails over time. Longer nails can help ensure a secure fit, even in moist conditions.
How to Measure and Calculate Nail Size for ¾ Hardwood Flooring
Determine the Thickness of Your Hardwood Flooring
First, you need to know how thick your ¾-inch hardwood flooring is. Get a ruler and measure the actual thickness. It should be ¾ inch but double-check to make sure. Knowing the exact thickness helps you pick the right size of nails.
For example, if your hardwood flooring is exactly ¾ inches, you’ll want nails that are at least 1.5 inches long.
Choose the Right Type of Nail
Different types of nails work better for certain jobs. For hardwood flooring, you’ll usually use “flooring cleats” or “flooring staples.” Cleats are often better for harder woods because they grip more tightly.
Staples are sometimes easier to use but might not hold as well. So if you’re laying oak flooring, cleats are often the better choice.
Calculate the Length of Nail Needed
Rule of thumb: Your nail should be at least twice as long as the thickness of your flooring. So, for ¾-inch flooring, multiply ¾ by 2. The result is 1.5 inches.
Make sure to choose nails that are at least this long. If you pick a 1.5-inch nail, it will penetrate deep enough into the subfloor to hold the hardwood in place.
Count the Number of Nails Required
Calculate the area of your room in square feet. Then multiply that by the number of nails you’ll need per square foot.
A good rule is to have at least 2 nails for every square foot of flooring. For example, if your room is 200 square feet, you’ll need 400 nails.
Understand the Correct Spacing for Nails
Spacing matters! For a secure fit, place nails about 8 to 10 inches apart along each board. You also want to put them 3 inches away from the ends of the board.
This prevents the wood from splitting. Imagine a board like a small racetrack. Your nails are the cars, and they should be evenly spaced around the track to win the race!
Check the Angle for Nail Installation
When you nail down hardwood flooring, angle matters. You’re aiming for a 45-degree angle to the floor. This helps the nail grip better.
Imagine the angle like the slope of a slide. A 45-degree angle is just steep enough for a fun, fast slide down!
Test with a Sample Board First
Before you start, it’s smart to practice on a scrap piece of hardwood. Make sure the nail goes in smoothly at the right angle and depth.
Adjust Nail Depth
Some nail guns let you adjust the depth to which the nail will sink. This is important because you don’t want the nail sticking up above the wood. You also don’t want it so deep that it damages the hardwood.
Turn the depth adjustment wheel on your nail gun until the nail sits just right.
Re-check After First Few Boards
Lay down the first few boards and step back. Check to see if the nails are holding well. If you notice any boards are loose, you may need to adjust your nail size or depth.
It’s better to find out early, like catching a mistake in your homework before you turn it in!
Safety Precautions
Lastly, always remember to wear safety gear like goggles and earplugs when using a nail gun. Safety first, just like when you ride your bike and wear your helmet!
Benefits of Using the Right Nail Size for ¾ Hardwood Flooring

Using the right nail size for your 3/4″ hardwood flooring has several benefits. Let’s take a look at some of them:
Enhanced Stability
The right nail size can help your floor stay stable and secure. This means your floorboards won’t move or squeak when you walk on them.
It’s like the difference between wearing shoes that fit just right versus shoes that are too big or too small.
Reduced Risk of Damage
Using nails that are too long or too short can damage your floor or subfloor. Imagine trying to fit a square peg into a round hole – it just doesn’t work!
But when you use the right size nails, you reduce the risk of such damage.
Long-Term Durability
A well-installed floor with the right nails can last for many years. It’s like building a house with strong bricks instead of weak ones.
The stronger the bricks (or in this case, the nails), the longer your house (or floor) will last.
FAQs
Can I use finishing nails for the main installation of 3/4″ hardwood flooring?
No, finishing nails are generally used for trim or edge detailing, not for securing the main floorboards.
Is galvanized steel better than regular steel for staples?
Galvanized steel is recommended for its added durability, especially in moist conditions.
Are power cleats suitable for small hardwood flooring projects?
Power cleats are generally more efficient for larger projects, but they can be used for small installations as well.
Do I need to measure the moisture levels of my wood and subfloor?
Yes, moisture levels can affect the length and type of nail you should use.
Can I adjust the nail depth on all nail guns?
Not all nail guns have this feature; check your tool’s specifications.
Conclusion
Choosing the right nail size for your hardwood flooring is crucial for a successful installation.
By considering factors like hardwood type, subfloor material, and floor thickness, you can select the perfect nail size for your project.
Remember, using the right nail size not only makes installation easier but also enhances the stability and durability of your floor. Happy nailing!

