Are you embarking on a home improvement project and wondering what size nails for door trim?
Picking the right nail size is crucial for both aesthetics and durability. Too short, and they won’t hold; too long, and they could protrude or split the wood.
In this comprehensive guide, we’ll take you through the ins and outs of selecting the ideal nail size for installing door trim.
From penny sizes to nail types, we’ve got all your questions covered to ensure your door trim looks professional and stays securely in place.

What Size Nails for Door Trim?
For installing door trim, the most commonly used nail sizes are 15-gauge or 16-gauge finish nails, which are approximately 1.5 to 2.5 inches long. These sizes offer a good balance between strength and visibility, ensuring the trim is securely attached while minimizing the nail head’s appearance.
The table below provides more details:
| Nail Size | Type | Suitability for Door Trim |
| 1.5 inch | Finish Nails | Suitable for most trims |
| 2 inch | Brad Nails | Ideal for thicker trims |
| 1 inch | Pin Nails | Best for delicate trims |
| 2.5 inch | Casing Nails | Perfect for heavy doors |
Nail Types for Door Trim Installation
Finish Nails
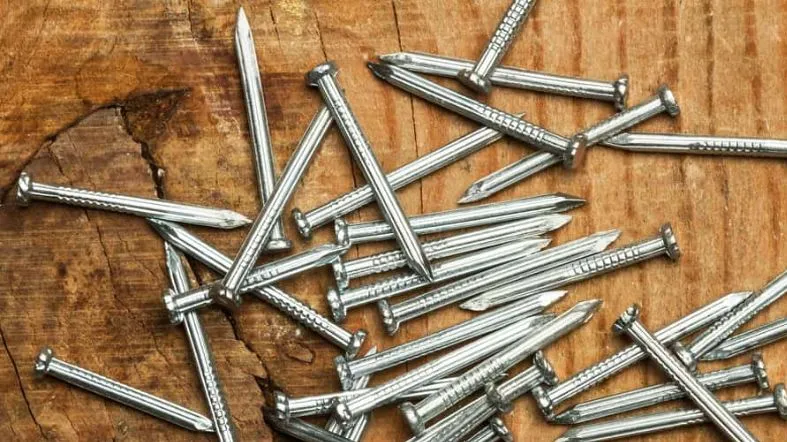
Finish nails are the most common type of nails used for door trim. They are small in size, usually between 1 and 2.5 inches long.
Their small size makes them perfect for attaching trim without splitting the wood.
They also have a small head, which can be easily concealed with a bit of wood filler, making the finished product look neat and tidy.
Brad Nails
Brad nails are another excellent choice for door trim, especially if you’re working with thicker trim.
They are slightly larger than finish nails, usually around 1.25 to 2 inches long, providing strong support for heavier trim. Brad nails have a thin shaft, which reduces the risk of splitting the wood.
Pin Nails
If you’re working with delicate trim, pin nails are your best bet. These nails are very thin and leave only a small hole in the trim, making them almost invisible once installed.
They are usually about 1 inch long and are perfect for attaching thin or delicate pieces of trim without causing damage.
Casing Nails
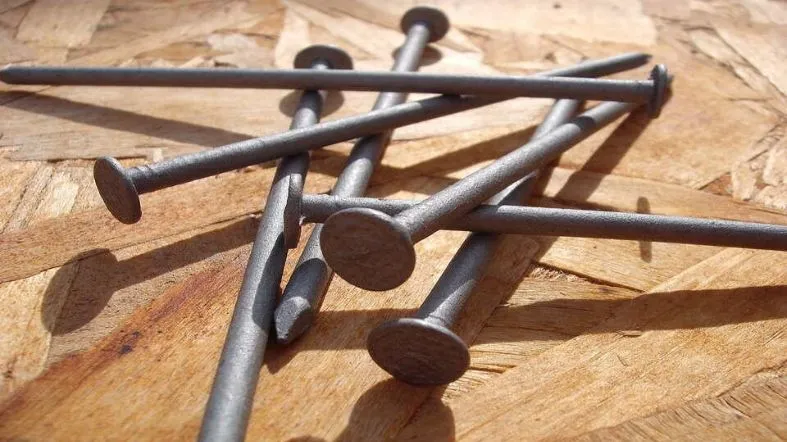
For heavy doors or thick trim, casing nails are the way to go. These nails are longer and stronger than other types, usually around 2 to 3 inches long. They provide excellent holding power for heavy doors or thick pieces of trim.
However, they do leave a larger hole than other types of nails, so they may not be the best choice if aesthetics is a primary concern.
Importance of Nail Size in Door Trim Installation

Why Nail Size Matters
The size of the nail you choose directly affects the holding power. Imagine trying to hang a heavy picture frame with a tiny nail. It wouldn’t hold, right? The same principle applies to door trim.
If the nail is too small, it won’t be able to support the weight of the trim, causing it to loosen or fall off over time.
On the other hand, a nail that’s too large could split the wood. So, choosing the right size ensures the trim stays securely in place.
Further Exploration into Holding Power
The holding power of a nail refers to its ability to keep the trim securely attached to the door. If you think of the nail as an anchor, its size and length determine how well it can hold the trim in place.
A nail that’s too short may not penetrate deep enough into the door, causing the trim to loosen over time. Conversely, a nail that’s too long could go through the other side of the door.
Therefore, it’s crucial to choose a nail size that’s just right for your specific door and trim.
Aesthetic Considerations
When it comes to door trim, you want it to look neat and tidy. This is where the aesthetic appeal comes in.
Smaller nails leave smaller holes, which are less noticeable and easier to fill and paint over. This helps maintain the trim’s beauty and gives your door a clean, finished look.
Aesthetic Appeal Expounded
The size of the nail also impacts the aesthetic appeal of your door trim. When you nail the trim to the door, it leaves a hole that needs to be filled and painted over.
The larger the nail, the bigger the hole, and the more noticeable it will be. Smaller nails, on the other hand, leave smaller holes that are easier to conceal, resulting in a cleaner and more appealing finish.
However, it’s important to balance aesthetics with functionality – a smaller nail might look better but may not provide sufficient holding power for heavier trims.
Safety Concerns
Safety is a crucial factor. Using the correct nail size can prevent accidents during installation. A nail that’s too large could split the wood and cause it to splinter, potentially leading to injuries.
Similarly, a nail that’s too small might not hold the trim securely, causing it to fall off unexpectedly. So, always ensure you’re using the right size for safe installation.
Safety Concerns Expounded
Finally, safety is paramount when installing door trim. Using a nail that’s too large could cause the wood to split and splinter, which could lead to injuries.
Moreover, if the nail is too small and doesn’t secure the trim properly, it could come loose and fall off, posing a risk.
Therefore, always ensure you’re using the correct nail size for your door trim to prevent any potential accidents.
Choosing the Right Nails for Door Trim

When choosing nails for door trim, several factors need to be taken into account to make an informed decision.
Material of the Door and Trim
The material of your door and trim is crucial in determining the right nails. For example, if you’re working with softwoods like pine or cedar, you’ll want to use shorter, thinner nails to avoid splitting the wood.
On the other hand, harder woods like oak or maple can handle longer, thicker nails.
Thickness of the Trim
The thickness of your trim also matters. If your trim is thick, you’ll need longer nails to ensure they go through the trim and into the door or wall securely. If the trim is thin, shorter nails will suffice.
Installation Method
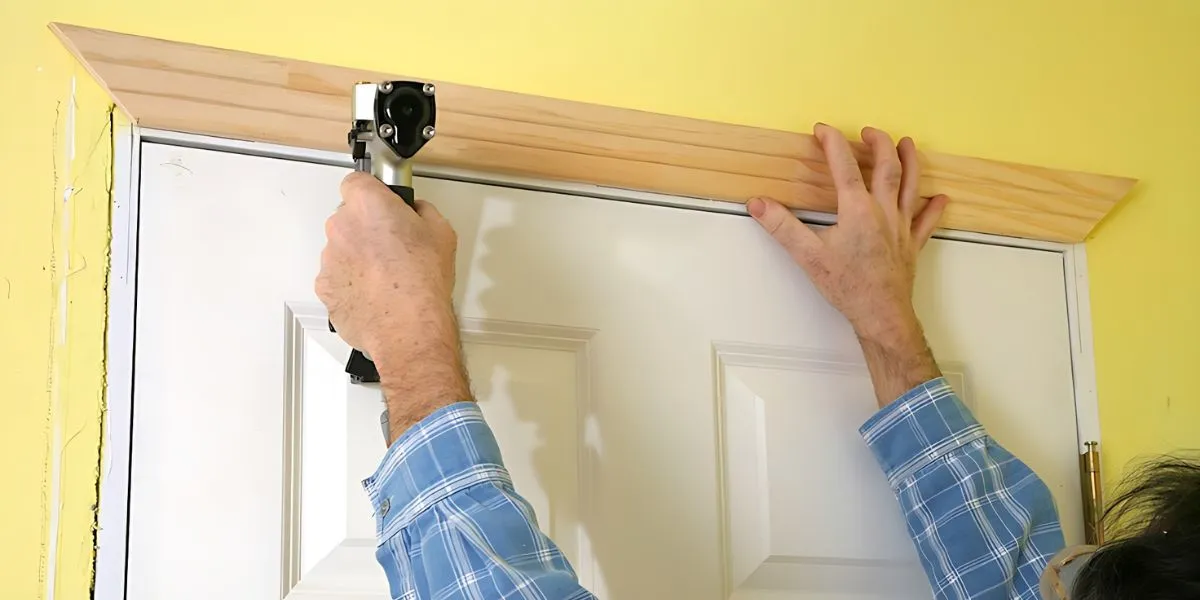
Your installation method can also affect your choice of nails. If you’re using a nail gun, you’ll need to choose nails that are compatible with your tool. Manual hammering might allow for more flexibility in nail size and type.
Weight of the Door
The weight of your door is another important factor. If you have a heavy, solid wood door, you’ll need stronger, longer nails to ensure the trim stays securely in place. A lighter door might not require as robust a nail.
Local Building Codes and Regulations
It’s always important to check your local building codes and regulations. Some areas may have specific requirements or restrictions on the type and size of nails used in home construction.
Durability and Quality of Nails
The durability and quality of the nails are also important. Look for nails that are made from durable materials like stainless steel or aluminum, which can withstand the test of time without rusting or bending.
Budget and Cost
Finally, consider your budget and cost. While it’s important to choose high-quality nails, there are plenty of affordable options available that don’t compromise on quality or durability.
How to Install Door Trim With the Right Nails
Choose the Right Nail Size
First up, you need to pick the right nail size. For door trim, you want to go with a 15-gauge or 16-gauge finish nail. Imagine your nails as the legs of a chair. If the legs are too small, the chair might wobble or fall over.
But if they’re too big, they won’t look nice. Aim for nails that are about 1.5 to 2 inches long. That’s like choosing a medium-sized chair leg that’s just right!
Test Your Nail
Once you’ve got your nails, test one on a small piece of trim. Pretend you’re tasting a spoonful of soup before serving it to your family.
You want to know it’s good before you share it, right? If the nail goes in easily and holds the trim snugly, you’re on the right track.
Mark Your Trim
Now, use a pencil to lightly mark where you’ll put the nails on the trim. Think of this like putting small stickers on a game board.
The stickers show you where to place your game pieces. Your marks will guide you so each nail goes in the perfect spot.
Pre-Drill Holes
You’ll need to make tiny holes, called “pilot holes,” in your trim where you marked it. Imagine you’re digging little holes in your garden for seeds.
These pilot holes help guide your nails straight in. Use a drill bit that’s a bit smaller than your nail for this step.
Nailing in Straight vs Angled
For thin trim, you’ll nail straight in. Think of this like jumping into a swimming pool feet first. For thicker trim, you’ll angle the nail about 45 degrees. This is like sliding into the pool on a water slide. It helps the nail grab onto the wall better.
Countersink the Nail
Once the nail is in, make it go just a tiny bit below the wood surface. You’re basically tucking the nail into bed, pulling the covers up just so. Use a tool called a “nail set” for this. Gently tap it with a hammer.
Fill in the Holes
Finally, use wood filler to fill those tiny holes you just made. It’s like when you color in a picture with crayons to make it complete. This gives your trim a smooth, finished look.
Safety First!
Always remember, that safety is important. Wear safety goggles, kind of like sunglasses that protect your eyes. And make sure your workspace is clean.
Imagine you’re a chef and your workshop is your kitchen. You wouldn’t cook in a messy kitchen, would you?
Double-Check Your Work
Once all the nails are in, step back and look at your trim. It’s like admiring your sandcastle after you’ve built it. Make sure it looks even and secure. If something’s off, now’s the time to fix it.
Clean Up
Last but not least, clean up your workspace. Put away all your tools and sweep up any wood shavings.
It’s like putting your toys away when you’re done playing. Now you can enjoy your newly installed door trim!
FAQs
Can I use casing nails for delicate trim?
No, casing nails are better suited for heavy doors or thick trim, not for delicate trim.
Are brad nails suitable for all types of door trim?
No, brad nails are ideal for thicker trims but may not be the best choice for very delicate or thin trims.
Do local building codes affect nail size?
Yes, always check your local building codes for any requirements or restrictions on nail sizes.
Are stainless steel nails preferable for long-term durability?
Yes, stainless steel nails are more durable and resistant to rust compared to other materials.
Can I use wood filler to conceal nail holes?
Yes, wood filler can be used to fill in nail holes and provide a smooth, finished look.
Conclusion
Choosing the right nail size for door trim is crucial. It affects the trim’s holding power, aesthetic appeal, and safety during installation.
Always consider factors like material, thickness, weight, local codes, nail quality, and budget when choosing nails.

