Wondering what size nails for wood siding? Knowing the answer can make or break your home improvement project and provide a smooth, secure installation.
But make the wrong pick, and you could face a host of issues, from loose siding to structural damage.
This article will guide you through the essential steps to find the perfect nail size.
We’ll explore how to measure your wood siding thickness, the types of nails suited for the job, and even tips for a successful installation. Read on!

What Size Nails for Wood Siding?
For wood siding, it’s recommended to use nails that are at least 2 1/2 inches long for better-holding power. Galvanized or stainless steel nails are often preferred due to their rust resistance. The nail should penetrate at least 1 1/4 inches into the solid wood beneath the siding for secure installation.
Nail Size by Type of Wood Siding
| Type of Wood Siding | Recommended Nail Size | Material |
|---|---|---|
| Clapboard | 2 – 2 1/2 inches | Galvanized or Stainless Steel |
| Shingle | 1 1/2 – 2 inches | Galvanized or Stainless Steel |
| Panel | 2 1/2 – 3 inches | Galvanized or Stainless Steel |
| Engineered Wood | 2 – 2 1/2 inches | Galvanized or Stainless Steel |
| Plywood | 2 1/2 inches | Galvanized or Stainless Steel |
Types of Nails for Wood Siding
Galvanized Nails
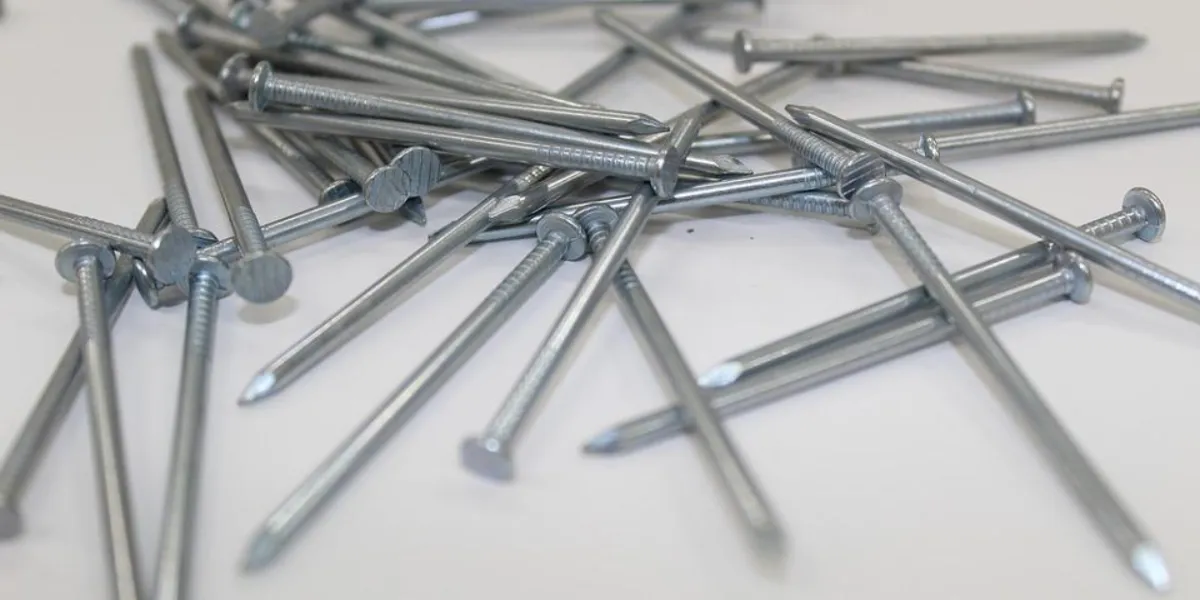
Galvanized nails are a popular choice for wood siding. They’re coated with a layer of zinc, which helps to prevent rust and corrosion.
This makes them perfect for outdoor use where they’re exposed to the elements. When using galvanized nails, it’s important to handle them carefully to avoid damaging the zinc coating.
Stainless Steel Nails
Stainless steel nails are another excellent option for wood siding, especially in coastal areas. They’re highly resistant to corrosion, which means they can withstand salty sea air without rusting.
These nails are a bit more expensive than other types, but their durability makes them a worthwhile investment.
Aluminum Nails
Aluminum nails are lightweight and rust-resistant, making them a good choice for certain types of wood siding.
However, they’re not as strong as other types of nails, so they might not be the best choice for heavy or dense wood siding.
It’s also worth noting that aluminum can react with certain types of wood preservatives, causing stains.
Copper Nails
Copper nails are often used for their unique color, which can complement certain types of wood siding. They’re also resistant to corrosion.
However, like aluminum nails, copper can react with certain types of wood preservatives. So it’s important to check compatibility before use.
Roofing Nails
Roofing nails might not be the first type of nail you think of for wood siding, but they can be a good option in some cases. They have large, flat heads and short shanks, which can help to hold the siding securely.
They’re typically used for asphalt shingles, but can also be used for wood siding if the conditions are right.
How to Measure the Perfect Nail Size for Wood Siding

Identify the Thickness of Your Wood Siding
Start by grabbing a ruler or a caliper. Measure the thickness of your wood siding. Write down this number, because you’ll need it later.
For example, if you have wood siding that’s half an inch thick, jot that down. This is your starting point.
Choose the Correct Nail Type
Different projects need different kinds of nails. For wood siding, ring-shank or spiral-shank nails work best. These nails grip the wood better and prevent it from popping out.
Imagine you’re building a treehouse. You wouldn’t want the nails to come loose, right? So, go with ring-shank or spiral-shank nails for a strong-hold.
Calculate the Nail Length
Now, take the thickness of your wood siding and multiply it by two. This will give you the right nail length.
In our example, if the wood is half an inch thick, you’ll need a nail that’s at least 1 inch long. This ensures the nail goes through the siding and into the wall securely.
Factor in the Sheathing Thickness
Don’t forget about the sheathing, the layer between the wall and the siding. Measure its thickness too. Add this number to your calculated nail length.
So, if your sheathing is a quarter-inch thick and your nail length is 1 inch, you’ll need a nail that’s 1.25 inches long.
Check for Local Building Codes
Sometimes, your city or state has rules about the size of nails for siding. Check these building codes to make sure you’re following the rules.
It’s like when your teacher gives you guidelines for a project. You need to stick to them, or your work might not get the grade you want.
Perform a Test Installation
Before you nail everything in place, do a test run. Take a small piece of siding and a nail of the size you’ve calculated. Nail the siding onto a scrap piece of the same wall material.
Make sure the nail grips well and that the siding lays flat. This is your practice run, kind of like a rehearsal before the big play.
Adjust and Confirm
If your test run was a success, you’re good to go. If not, you might need to adjust the nail length. Maybe go up or down a size and test again.
It’s like trying on different sizes of shoes to find the perfect fit. Once you’ve found the nail that works, you can proceed with confidence.
Factors Influencing Nail Size Selection for Wood Siding

Type of Wood Siding Material
Different types of wood require different nail sizes. For instance, cedar siding, which is softer and less dense, typically requires smaller nails like 2-inch (5d) nails.
On the other hand, oak siding, known for its hardness and density, may require larger nails such as 3-inch (10d) nails.
Wall Material
The material of the wall where the siding will be installed also influences the nail size.
For example, if you’re installing siding on a brick wall, you may need longer nails to ensure a secure attachment.
Local Climate and Environmental Conditions
The local climate plays a significant role in nail selection. In areas with high humidity or rainfall, it’s best to use rust-resistant nails like stainless steel or galvanized nails to prevent corrosion.
Building Codes and Regulations
Local building codes and regulations may have specific requirements for nail size and type. Always check these before starting your project to ensure compliance.
Aesthetic Considerations
The color and finish of the nails can affect the overall look of the siding. For example, copper nails can add a unique touch to certain types of wood siding.
Durability and Rust Resistance
For long-lasting results, it’s important to choose nails that are durable and resistant to rust.
Stainless steel and galvanized nails are both excellent choices for their durability and rust resistance.
Budget Constraints
While some nail types may be more expensive than others, it’s important to consider long-term durability and maintenance costs.
Investing in high-quality nails can save you money in the long run by reducing the need for repairs or replacements.
Tool Availability
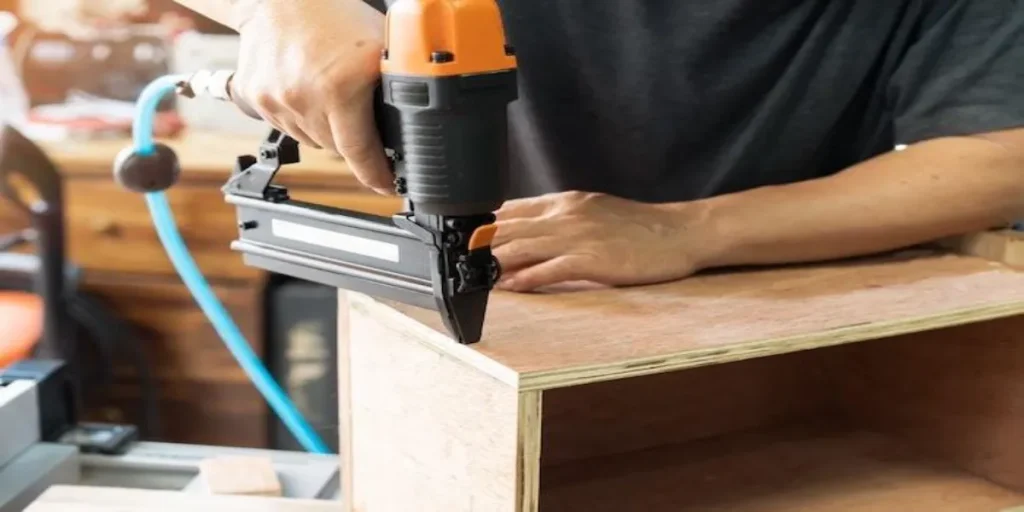
The type of nail gun or hammer you have may also influence your choice of nails. Some tools may work better with certain types of nails, so it’s important to check compatibility before starting your project.
Best Practices for Nailing Wood Siding
Pre-drilling Holes
Pre-drilling holes is a great way to prevent the wood from splitting when you drive in the nails. This is especially important when working with harder woods, which are more prone to splitting.
To pre-drill a hole, simply use a drill bit that’s slightly smaller than the diameter of your nail and drill a hole where you plan to drive the nail.
Correct Nail Placement
Correct nail placement is crucial for a secure and visually pleasing result. Nails should be placed about 1 inch from the edge of the siding. This helps to secure the siding without risking damage to the edges.
Additionally, nails should be spaced about 16 inches apart. This spacing helps to evenly distribute the load and keeps the siding firmly attached.
Using Spacing Guides
Using a spacing guide can help ensure consistent spacing between each piece of siding. A spacing guide can be as simple as a piece of scrap wood cut to the desired width.
Simply place the guide between each piece of siding as you install it to maintain even spacing. This not only makes your job easier but also results in a professional-looking finish.
Common Mistakes to Avoid
Using the Wrong Size
Common mistake is using nails that are either too short or too long. If the nails are too short, they may not secure the siding properly.
If they’re too long, they could potentially damage the wall behind the siding. Always measure your siding and choose the appropriate nail size.
Using the Wrong Nail Material
Using the wrong nail material can also lead to problems. Certain materials may not hold up well in certain climates or conditions. For example, using regular steel nails in a coastal area with salty air can lead to rust and corrosion.
Always consider your local climate and choose a nail material that can withstand those conditions.
Inadequate Spacing
Inadequate spacing between nails can lead to uneven siding. If the nails are too close together, it can cause the wood to warp or buckle.
If they’re too far apart, the siding may not be secure. As a rule of thumb, nails should be spaced about 16 inches apart.
Ignoring Local Building Codes
Lastly, always check local building codes before starting your project. These codes often have specific requirements for things like nail size and type.
Ignoring these codes can lead to potential issues later on, such as fines or having to redo your work.
FAQs
Can I use roofing nails for wood siding?
Yes, roofing nails can be used for wood siding if conditions are appropriate, but they’re not ideal for all types.
Is pre-drilling holes necessary?
Pre-drilling is recommended for harder woods to prevent splitting.
Are aluminum nails suitable for all types of wood siding?
No, aluminum nails are not recommended for heavy or dense wood siding and can react with certain wood preservatives.
Does the wall material affect nail selection?
Yes, the material of the wall where the siding will be installed influences the size and type of nail needed.
Can copper nails react with wood preservatives?
Yes, copper nails can react with certain types of wood preservatives, causing stains.
Conclusion
Choosing the right nails for your wood siding project is crucial for its success.
By considering factors like material type, local climate, and building codes, you can ensure a durable and beautiful result. Happy building!

