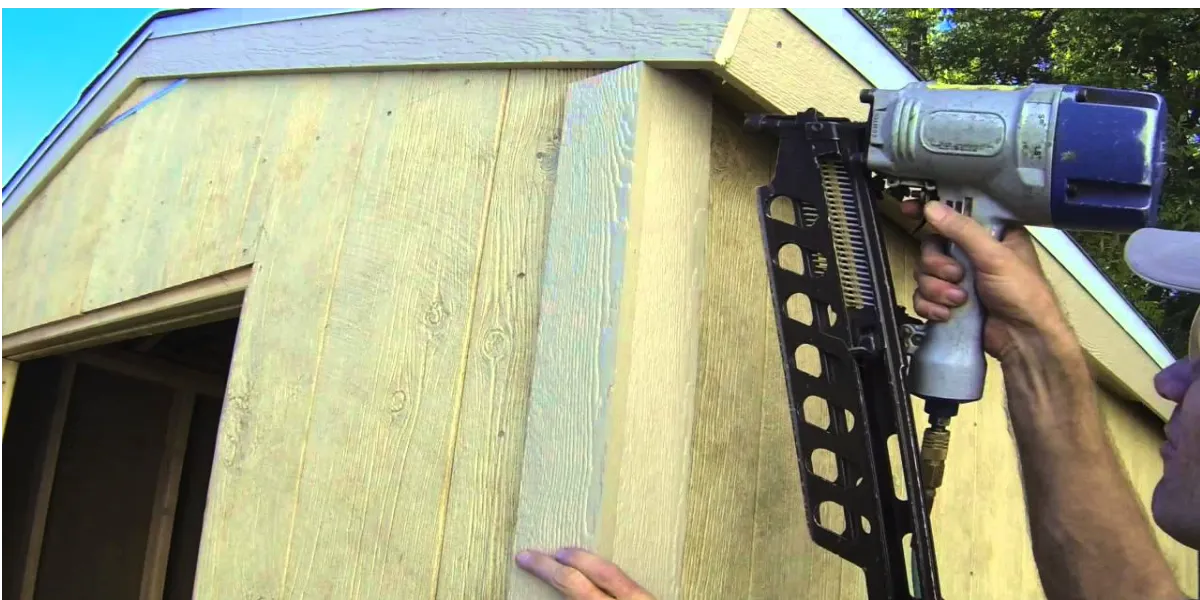
Knowing what size nail for 1×4 exterior trim is more crucial than you might think.
Get it wrong, and you’re in for a world of trouble, including unstable trims, a higher risk of wood splitting, and even the long-term durability of your project coming into question.
This guide demystifies the puzzle of picking the perfect nail size. From examining factors like wall material and weather conditions to practical tips on nail types and spacing, we’ve got you covered.

What Size Nail for 1×4 Exterior Trim?
For 1×4 exterior trim, it’s recommended to use 8D to 10D galvanized finish nails. These nails are 2.5 to 3 inches long and provide sufficient penetration into both the trim and the wall material, ensuring a secure installation that can withstand outdoor conditions.
Types of Nails Best Suited for Exterior Trim
| Type of Nail | Material | Length | Best for |
|---|---|---|---|
| Finish Nails | Galvanized Steel | 2-2.5 in. | General-purpose trim attachment |
| Siding Nails | Stainless Steel | 2-2.5 in. | Siding and trim on wood surfaces |
| Box Nails | Galvanized Steel | 2-2.5 in. | Lighter trim materials |
| Spiral-Shank Nails | Stainless Steel | 2-2.5 in. | High-wind areas |
Different Types of Nails Suitable for 1×4 Exterior Trim
Finish Nails
Finish nails, also known as lost-head nails, are a popular choice for attaching trim. They are thin, which makes them less likely to split the wood.
The head of a finish nail is small, allowing it to be driven below the wood surface. This leaves a tiny hole that can be easily filled with putty and painted over, making the nail virtually invisible.
These nails typically range in size from 1 inch to 2-1/2 inches.
Galvanized Nails
Galvanized nails are made from steel and coated with zinc. This zinc coating protects the nails from rust and corrosion, making them an excellent choice for outdoor use or in areas with high humidity.
The zinc coating also provides a rough surface which helps the nail grip the wood, preventing it from backing out over time.
Galvanized nails are available in a variety of sizes and styles, including both nails and screws.
Stainless Steel Nails
Stainless steel nails are the top-of-the-line choice when it comes to nails for exterior trim. They are strong, durable, and highly resistant to rust and corrosion.
While they are more expensive than other types of nails, their longevity can make them a cost-effective choice in the long run.
Stainless steel nails are especially good for use in coastal areas where salt air can cause other types of nails to corrode quickly.
Brad Nails
Brad nails are similar to finish nails but are even thinner. This makes them an excellent choice for attaching delicate trim or for use in tight corners where a larger nail might split the wood.
Because they are so thin, brad nails leave a very small hole that is easy to fill and hide.
However, their thinness also means they are not as strong as other types of nails, so they should not be used for heavy trim or in areas where the trim will be subject to a lot of stress or impact.
How to Determine the Ideal Nail Size for 1×4 Exterior Trim

Consider the Trim Material
The material of your trim plays a big role in determining the nail size. For instance, if you’re using a hardwood trim like oak, you’ll need a longer and thicker nail, such as a 2-1/2 inch finish nail.
But if you’re using a softwood trim like pine, a smaller nail, like a 2-inch brad nail, would be sufficient.
Measure Trim Thickness
A general rule of thumb is that your nail should be at least three times the thickness of your trim.
So, if your 1×4 trim is 3/4 inch thick, you should use a nail that’s at least 2-1/4 inches long.
Account for Wall Material
The material of the wall where you’re installing the trim also matters. If you’re nailing into a hard material like concrete, you’ll need longer and stronger nails to ensure they penetrate deep enough.
But if you’re nailing into wood or drywall, standard-size nails should work fine.
Checking the Nail Penetration Depth
Finally, check how deep the nail goes into the wall. Ideally, about two-thirds of the nail should penetrate the wall.
This ensures that the trim is securely attached without risking damage to the wall from the nail going in too deep.
Factors Influencing Nail Size Selection for 1×4 Exterior Trim
Material of the Trim
The type of trim material significantly influences the nail size. Hardwood trims, like oak or mahogany, are denser and require longer, stronger nails to secure them properly.
On the other hand, softwood trims, such as pine or cedar, are less dense, so you can use shorter nails without risking splitting the wood.
Material of the Wall
The wall material also plays a crucial role in nail size selection.
Concrete or brick walls are harder and require longer nails to ensure a secure hold. In contrast, wooden walls or drywall can accommodate standard-size nails.
Weather Conditions and Exposure
If your trim will be exposed to harsh weather conditions or high humidity, it’s essential to use corrosion-resistant nails like galvanized or stainless steel.
These nails can withstand the elements and prevent rusting, ensuring your trim stays secure and looks good for years.
Regulatory Codes and Standards
In some areas, local building codes specify what type and size of nail to use for certain jobs. Always check your local building codes and standards before starting your project to ensure you’re in compliance.
Installation Techniques
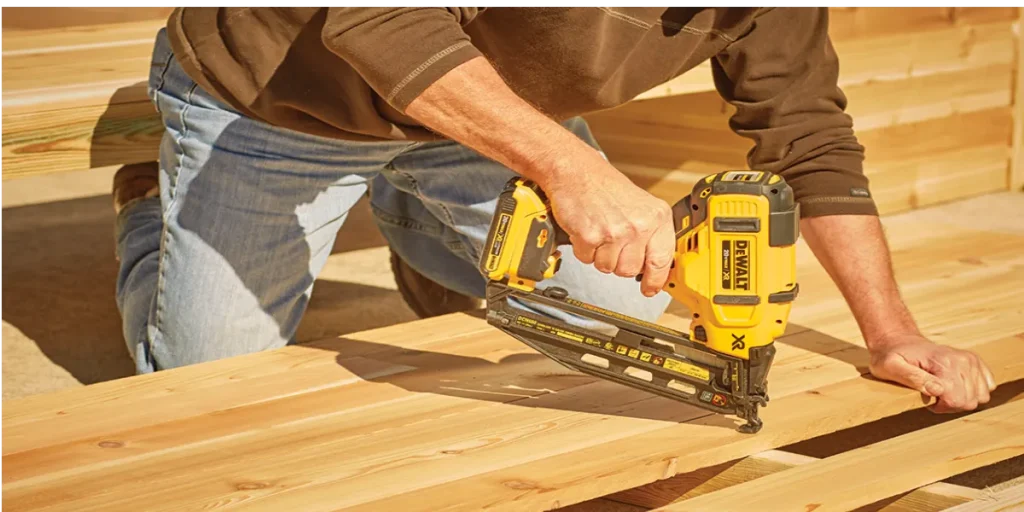
Your installation technique can also influence your nail size selection. If you’re using a nail gun, you’ll need to choose nails that fit your tool. Manual hammering might allow for more flexibility in nail size.
Budget Considerations
While stainless steel nails are excellent in terms of durability and resistance to rust, they’re also more expensive.
If budget is a concern, consider using galvanized nails instead. They offer good durability and resistance to rust at a lower cost.
Tips for Successful Installation

Safety Measures
Safety should always be your first priority. When hammering nails, always wear safety glasses to protect your eyes from flying debris. Also, keep your fingers clear of the hammer to avoid accidental injury.
Pre-Drilling Holes: Yay or Nay?
Pre-drilling holes can be a great help, especially when working with hardwoods or near the ends of boards.
It can prevent the wood from splitting, ensuring a clean and professional finish. So, it’s a definite yay!
Spacing Between Nails
Proper spacing between nails is crucial for a secure installation. Nails should be spaced about every 16 inches. If you’re nailing into a wall, align the nails with every stud for maximum stability.
Correct Nail Angles
The angle at which you drive the nail also matters. Normally, you should nail straight in.
However, if you’re toe-nailing (nailing at an angle), a 45-degree angle is standard. This technique is often used when nailing in tight spaces or securing joints at an angle.
What Happens When You Choose the Wrong Nail Size?
Structural Weakness
Choosing nails that are too small or short can lead to structural problems. These nails may not hold the trim securely, leading to wobbly or loose trim.
Imagine hanging a heavy picture frame with a tiny nail; it’s likely to fall off the wall!
Cosmetic Issues
On the other hand, nails that are too large or long can cause cosmetic issues. They can split the wood or stick out from the surface, leading to unsightly trim. It’s like wearing oversized shoes; they don’t fit well and look awkward!
Repair Costs
Choosing the wrong nail size can also lead to increased repair costs. If the trim is damaged due to the use of incorrect nails, you may need to repair or replace the trim.
It’s similar to fixing a leaky pipe; if not done right the first time, it could lead to more costly repairs down the line!
FAQs
Can I use 16d nails for 1×4 exterior trim?
No, 16d nails are too long for 1×4 trim and may split the wood.
Should I use galvanized nails for exterior trim?
Yes, use galvanized nails to prevent rusting in outdoor conditions.
How far apart should I space the nails when attaching 1×4 trim?
Space nails about 12 to 16 inches apart for secure attachment.
Can I use finishing nails for 1×4 exterior trim?
It’s best to use siding or trim nails for a stronger hold than finishing nails.
Do I need to pre-drill holes before nailing the 1×4 exterior trim?
Pre-drilling is not necessary for 1×4 trim if you use the appropriate nails and take care to avoid splitting the wood.
Conclusion
Choosing the right nail size for 1×4 exterior trim is essential for both structural integrity and aesthetics.
Always consider factors like material, weather conditions, and installation techniques when selecting nails.
With the right choice, your exterior trim will be secure and beautiful for years to come.
