Starting your next tiling project with 12×24 floor tiles? The right trowel size can make all the difference.
In this guide, we uncover the secrets to achieving a flawless tile installation. No more second-guessing or wastage. Get the insights and expert tips to lay those tiles like a pro.

What is a Trowel and Why is It Important for Laying Floor Tiles?
For laying 12×24 floor tiles, a 1/2 inch x 1/2 inch square notch trowel or a 1/2 inch x 3/4 inch U-notch trowel is typically suitable. Tiles adhere properly to the substrate with this size, reducing movement and cracking risks.
Here is a table that shows some common trowel sizes and their recommended uses for 12×24 floor tiles:
| Trowel Size | Tile Thickness | Tile Material |
| 1/4 x 1/4 inch square notch | Thin (less than 1/4 inch) | Ceramic or porcelain |
| 1/4 x 3/8 inch square notch | Medium (1/4 to 3/8 inch) | Ceramic or porcelain |
| 1/2 x 1/2 inch square notch | Thick (more than 3/8 inch) | Ceramic or porcelain |
| 3/8 x 3/8 inch U-notch | Thin (less than 1/4 inch) | Natural stone |
| 1/2 x 1/2 inch U-notch | Medium (1/4 to 3/8 inch) | Natural stone |
| 3/4 x 3/4 inch U-notch | Thick (more than 3/8 inch) | Natural stone |
| 1/4 x 3/16 inch V-notch | Thin (less than 1/4 inch) | Glass or mosaic |
Different Types of Trowels Suitable for 12×24 Floor Tile
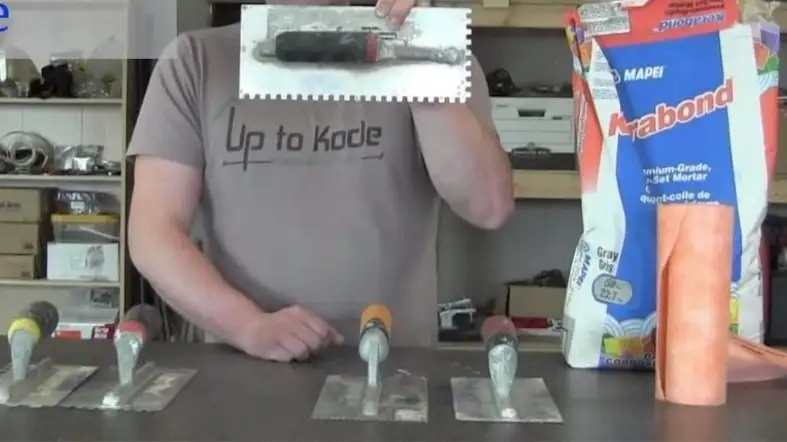
There are different types of trowels that have different shapes and sizes of notches.

Square-Notch Trowels
Square-notch trowels have rectangular notches that leave parallel ridges of adhesive on the substrate.
They are good for large, flat, and regular tiles that need more coverage and support from the adhesive. They also allow you to adjust the tile position more easily by sliding it on the ridges.
If they are not pressed down firmly enough, square-notch trowels can leave more air pockets under tiles.
They can also cause more lippage if the tiles are not leveled properly.
U-Notch Trowels
U-notch trowels have half-moon shaped notches that leave curved ridges of adhesive on the substrate.
They are good for natural stone tiles that have more variations in thickness, shape, and texture.
They also use less adhesive than square-notch trowels, which can save you money and reduce waste.
U-notch trowels can, however, leave less coverage if not applied evenly. They can also make it harder to adjust the tile position once it is set on the adhesive.
V-Notch Trowels
V-notch trowels have triangular notches that leave thin and pointed ridges of adhesive on the substrate.
They are good for small, thin, and delicate tiles that need less adhesive and more precision.
They also reduce the risk of lippage and excess adhesive oozing out of the grout joints.
It is difficult to cover and support tiles with V-notch trowels when applied inconsistently or too lightly.
They can also make it difficult to fill any gaps or irregularities in the tile or substrate.
>> What trowel size for 12×12 wall tile?
Factors Influencing Trowel Size Selection for 12×24 Floor Tile
Here are some of the most important factors to consider:

Tile Thickness
The thickness of your tile determines how much adhesive you need to use to fill the space between the tile and the substrate.
Thicker tiles need more adhesive than thinner tiles to achieve full coverage and support.
You need to use a larger notch trowel for thicker tiles and a smaller notch trowel for thinner tiles.
Tile Material
The material of your tile affects how well it adheres to the adhesive and how much variation it has in its surface and edges.
Ceramic and porcelain tiles are usually smooth and regular, so they need less adhesive and more uniform ridges.
Natural stone tiles are usually rough and irregular, so they need more adhesive and more flexible ridges.
Glass and mosaic tiles are usually fragile and sensitive, so they need less adhesive and more precise ridges.
Substrate Condition
The condition of your substrate affects how level and smooth it is and how well it bonds with the adhesive.
A flat and smooth substrate needs less adhesive than an uneven and rough substrate to create a flat and smooth tile surface.
A porous and absorbent substrate needs more adhesive than a dense and non-absorbent substrate to create a strong bond with the tile.
Adhesive Type
The type of adhesive you use affects how thick and sticky it is and how fast it dries.
A thick and sticky adhesive needs a larger notch trowel than a thin and fluid adhesive to spread it evenly and avoid clumps.
A fast-drying adhesive needs a smaller notch trowel than a slow-drying adhesive to avoid skinning over or drying out before the tile is set.
Installer’s Experience
The experience of the installer affects how well they can apply the adhesive and set the tile with the right amount of pressure and alignment.
A skilled installer can use a smaller notch trowel than a novice installer to achieve full coverage and support with less adhesive.
A novice installer may need a larger notch trowel than a skilled installer to compensate for any errors or inconsistencies in their technique.
Manufacturer Recommendations
The recommendations of the tile manufacturer affect how they design their tiles to be installed with the best results.
Some tile manufacturers may specify the exact trowel size or range that they recommend for their tiles based on their testing and quality standards.
You should always follow the manufacturer’s recommendations if they are available, as they know their products best.
Environmental Conditions
The environmental conditions affect how the adhesive behaves in different temperatures and humidities.
High temperatures and low humidities can make the adhesive dry faster and harder, so you may need to use a smaller notch trowel or work faster to avoid losing adhesion.
Low temperatures and high humidities can make the adhesive dry slower and softer, so you may need to use a larger notch trowel or work slower to avoid sagging or shifting.
>> What trowel size for wall tiles?
Practical Steps to Using a Trowel for 12×24 Floor Tile
Here are some practical steps on how to use it correctly:
>> What size trowel for 3×6 tiles?
Preparing the Surface
Before you apply any adhesive, you need to prepare the surface where you will install the tiles.
Make sure that the surface is clean, dry, flat, smooth, stable, and free of any cracks, holes, or bumps.
If necessary, repair any damage, level any unevenness, sand any roughness, or prime any porosity on the surface.
Applying the Adhesive
Once the surface is ready, you can start applying the adhesive with your chosen trowel size.
For your tile type and substrate condition, mix the adhesive according to the instructions on the package.
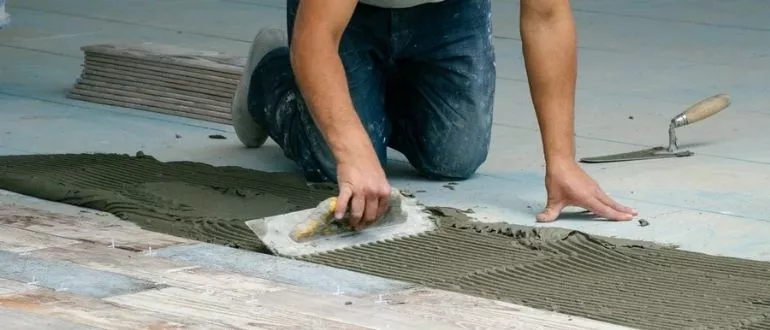
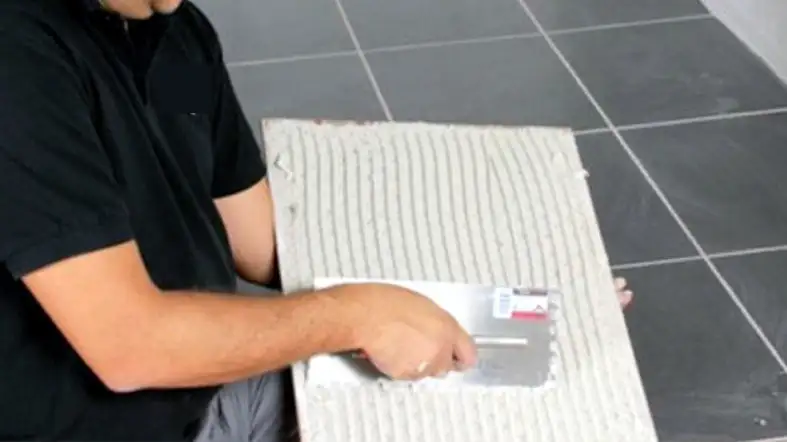
Holding the trowel at a 45-degree angle, spread the adhesive thinly on the surface with your trowel.
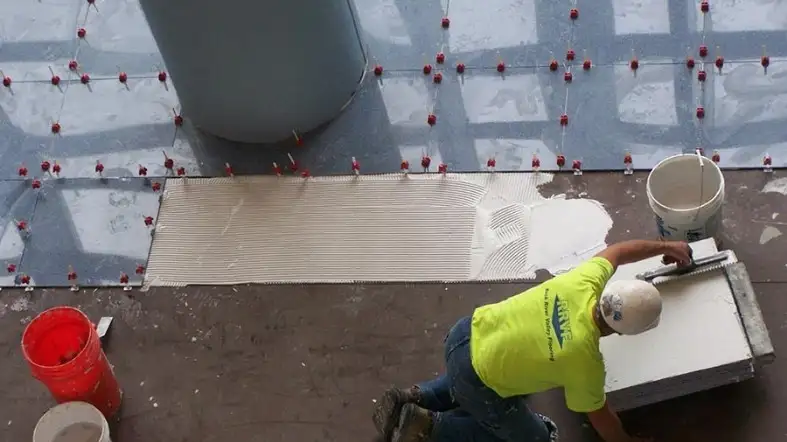
Using the notched side of your trowel, comb through the layer, creating even ridges. Do not apply too much or too little adhesive at once, as this can affect your coverage and support.
Only apply adhesive to a small area at a time, about 2 to 3 square feet, and work in sections.

>> What size trowel for laying mosaic tile?
Positioning the Tile
After you apply the adhesive, you can start positioning the tile on the surface. Place the tile gently on the adhesive, aligning it with your layout lines or spacers.
Do not slide or drag the tile on the adhesive, as this can disturb the ridges and create air pockets. If you need to adjust the tile position, lift it up and reposition it.
Pressing and Setting
Once you position the tile, you need to press it down firmly into the adhesive, making sure that it is flat and level with the adjacent tiles.
You can use a rubber mallet or a grout float to tap the tile lightly or use your hands to press it evenly.
This will help collapse the ridges and create full contact between the tile and the adhesive.
Ensuring Alignment and Spacing
After you press and set the tile, you need to ensure that it is aligned and spaced correctly with the other tiles.
You can use a level or a straight edge to check that the tile is not tilted or warped. You can also use spacers or wedges to maintain consistent gaps between the tiles for grouting later.
If you notice any lippage or misalignment, you can use a pry bar or a suction cup to lift and adjust the tile before the adhesive sets.
>> What trowel size for 6×36 tile?
Best Trowel For 12×24 Floor Tile Review
M-D Building Premium Square Notch Trowel
- 11-Inchx 4-1/2-Inch premium trowel
- Comfort grip handle
- Aluminum die cast shank
- Measures 11-inch x 4. 5-Inch
- Professional tile install tool
With a 1/2″ X 1/2″ premium square notch, this M-D building trowel will be the best trowel for 12×24 floor tile.
Along with ensuring standard mortar coverage, this premium trowel will offer professional-grade installation every time you use it for floor or bathroom tile projects.
Constructed with a hardened and tempered steel blade, this trowel also comes maintained, polished, and grounded for improved durability.
Apart from these, the trowel has a comfortable grip handle and an aluminum die-cast shank.
Combining these features, the DIYers will have an ergonomic and efficient operation for the tile installation project.
Last, by cleaning the trowel after every use and lightly misting it with WD-40, you can boost the trowel’s longevity and effectively prevent rust and corrosion.
Pros
- Design with an ergonomic handle with a soft grip.
- Has an aluminum die-cast shank.
- Ensure professional-grade tile installation.
- It has a hardened and tempered steel blade.
Cons
- The trowel can get rusty without proper maintenance.
Frosch Stainless Steel Square Notch Tile Trowel
- 1/2″ X 1/2″ square notch trowel
- Heavy-duty stainless steel construction
- Comfort grip handle
- Rust-proof
- Measures 11″ x 4.5″ overall size
This trowel from Frosch design with a 1/2″ X 1/2″ Square Notch, makes it one of the best trowels for 12×24 floor tile installation.
With heavy-duty stainless steel and rust-proof construction, this trowel will ensure all-around the best performance.
So, whether it’s applying precise adhesive to create a flat surface or cleaning a trowel at the end of the task, you’ll find these useful and simple.
Despite the trowel’s having a comfortable grip handle that makes the tile installation task more comfortable.
Finally, if you’re on a limited budget and want a long-lasting trowel without worrying about rust, pick this Frosch Square Notch Tile Trowel.
Pros
- Construct with stainless steel.
- It has a handle that is easy to hold.
- It has a rust-resistant design.
- It has a high-quality square notch.
Cons
- It may not last for long.
FAQs About Right Size Trowel For 12×24 Floor Tile
How Big Of A Grout Line Is Required For A 12×24 Tile?
Can I use a pre-mixed thinset with 12×24 tiles?
What size grout joints should I leave on 12×24 tiles?
How do I get proper thinset coverage with a notched trowel?
Final words
Selecting the right trowel size for your 12×24 floor tile is crucial for a flawless finish. By now, you’ve grasped the importance of matching trowel size to tile dimensions.
Remember, an informed choice ensures longevity and beauty in every tile installation.
Dive into your tiling project with confidence and watch your space transform!


